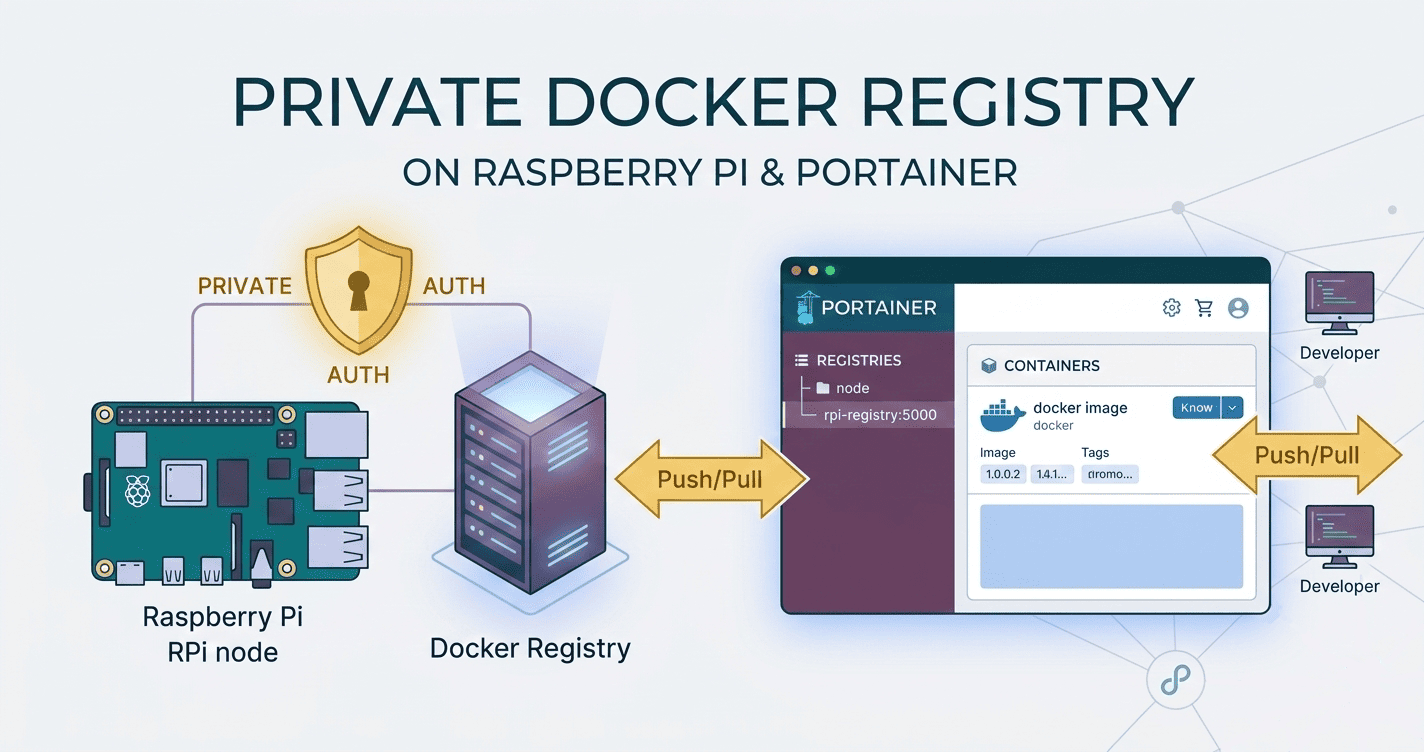
Run your own private Docker image registry on a Raspberry Pi using Portainer. This guide uses HTTP only (no TLS) with basic auth enabled. You will deploy the registry and a web UI via a Portainer Stack, configure clients to allow an insecure registry, and verify everything works on your home network.
Note: A registry is the server (e.g., registry:2). Repositories are image collections inside the registry.
TL;DR
- Image:
registry:2 - Runs on LAN over HTTP:
:5000(no TLS) - UI:
joxit/docker-registry-ui:lateston:5001 - Auth: htpasswd basic auth
- Persist storage: bind mount
/var/lib/registry - Clients: add
192.168.1.100:5000to Dockerinsecure-registries
Prerequisites
- Raspberry Pi 4/5 (ARM64 preferred)
- Raspberry Pi OS 64‑bit or another 64‑bit Linux
- Docker and Portainer CE installed on Raspberry Pi
- A stable hostname or IP (e.g.,
192.168.1.100)
Check architecture:
uname -m
# aarch64 -> 64-bit, armv7l -> 32-bit (works but prefer 64-bit)
Directory layout on the Pi
Create a working folder with subfolders for data and auth (host bind mounts):
sudo mkdir -p /opt/registry/{data,auth}
Create basic auth (htpasswd)
Set up credentials to protect the registry and UI actions.
Install via apt-get (Debian/Ubuntu) and create username/password:
sudo apt-get update && sudo apt-get install -y apache2-utils
htpasswd -Bbn youruser yourpassword | sudo tee /opt/registry/auth/htpasswd > /dev/null
OR run via Docker (no package install) and create username/password:
sudo docker run --rm --entrypoint htpasswd httpd:2 -Bbn youruser yourpassword | sudo tee /opt/registry/auth/htpasswd > /dev/null
Deploy the registry with Portainer (Stack)
Open Portainer > Stacks > Add stack
Name:
registryPaste this stack file and deploy. Portainer will run it via Docker Compose and create two services:
registry:2(the Docker Registry backend) andjoxit/docker-registry-ui:latest(the web UI):
version: "3.8"
services:
  registry:
    image: registry:2
    container_name: registry
    restart: unless-stopped
    ports:
      - "5000:5000"
    environment:
      REGISTRY_HTTP_ADDR: 0.0.0.0:5000
      REGISTRY_STORAGE_DELETE_ENABLED: "true"
      REGISTRY_STORAGE_FILESYSTEM_ROOTDIRECTORY: /var/lib/registry
      # Basic auth (comment out these three lines to disable auth)
      REGISTRY_AUTH: htpasswd
      REGISTRY_AUTH_HTPASSWD_REALM: "Registry Realm"
      REGISTRY_AUTH_HTPASSWD_PATH: /auth/htpasswd
      # CORS for UI access from http://192.168.1.100:5001
      REGISTRY_HTTP_HEADERS_Access-Control-Allow-Origin: "[http://192.168.1.100:5001]"
      REGISTRY_HTTP_HEADERS_Access-Control-Allow-Methods: "[HEAD,GET,OPTIONS,DELETE]"
      REGISTRY_HTTP_HEADERS_Access-Control-Allow-Headers: '["Authorization","Accept","Cache-Control","Content-Type","Origin","X-Requested-With"]'
      REGISTRY_HTTP_HEADERS_Access-Control-Expose-Headers: "[Docker-Content-Digest]"
      REGISTRY_HTTP_HEADERS_Access-Control-Allow-Credentials: "[true]"
    volumes:
      - /opt/registry/data:/var/lib/registry
      - /opt/registry/auth:/auth

  registry-ui:
    image: joxit/docker-registry-ui:latest
    container_name: registry-ui
    restart: unless-stopped
    depends_on:
      - registry
    ports:
      - "5001:80"
    environment:
      - REGISTRY_TITLE=Home Registry
      - REGISTRY_URL=http://registry:5000
      - DELETE_IMAGES=true
      - SINGLE_REGISTRY=true
Notes:
- Portainer stacks use Docker Compose under the hood; deploying this stack installs two containers on your Pi.
- Service roles:
registry:2is the Docker Registry;joxit/docker-registry-ui:latestis the web UI for browsing and managing images. - No TLS is configured (HTTP only).
- If you didn’t create
htpasswd, comment/remove the threeREGISTRY_AUTH*lines to run without auth. - Access the UI at
http://192.168.1.100:5001. If auth is enabled, use the same credentials when prompted.
Verify the deployment
Run quick checks from another machine on your LAN:
# Check UI is reachable
curl -I http://192.168.1.100:5001/

# With auth enabled, list repositories via the Registry API (may be empty initially)
curl -u youruser:yourpassword http://192.168.1.100:5000/v2/_catalog

# Confirm CORS header for the UI origin
curl -I http://192.168.1.100:5000/v2/ | grep -i Access-Control-Allow-Origin || true
Add the registry to Portainer (Custom Registry)
Add your HTTP registry to Portainer so you can browse and use it when deploying stacks:
- In Portainer, go to Registries > Add registry
- Select Custom registry
- Name: Home Registry (or anything you like)
- URL: http://192.168.1.100:5000
- Credentials: enable and enter your htpasswd user/password (if you enabled auth)
- Save
You can now:
- Browse the catalog under Registries > Home Registry
- Pull images in Portainer (Images > Pull) using 192.168.1.100:5000/namespace/image:tag
- Reference images from this registry in your Stacks and Containers
Configure clients to trust the HTTP registry (insecure)
On every machine that will push/pull, add the registry to Docker’s insecure-registries and restart Docker.
Linux (system daemon):
If you already have a /etc/docker/daemon.json, add:
{
  "insecure-registries": [
    "192.168.1.100:5000"
  ]
}
If you do not have a /etc/docker/daemon.json:
sudo mkdir -p /etc/docker
cat <<'JSON' | sudo tee /etc/docker/daemon.json
{
  "insecure-registries": [
    "192.168.1.100:5000"
  ]
}
JSON
sudo systemctl restart docker
Docker Desktop:
- GUI: Settings > Docker Engine, add/merge
"insecure-registries": ["192.168.1.100:5000"], then click Apply & Restart. - Or edit
~/.docker/daemon.jsonand add:
{
  "insecure-registries": [
    "192.168.1.100:5000"
  ]
}
- Restart Docker Desktop to apply.
Login, tag, and push
From a client:
# If you enabled auth
docker login 192.168.1.100:5000
# enter youruser / yourpassword

# Try a small image
docker pull hello-world
# Tag to your registry namespace
docker tag hello-world 192.168.1.100:5000/hello:1.0

docker push 192.168.1.100:5000/hello:1.0

docker pull 192.168.1.100:5000/hello:1.0
Tip: You can also verify images in the web UI at http://192.168.1.100:5001.
Storage, pruning, backups
- Images are stored under
/opt/registry/dataon the Pi - Deletions are enabled (
REGISTRY_STORAGE_DELETE_ENABLED=true) - Garbage‑collect unreferenced blobs occasionally:
docker exec -it registry registry garbage-collect /etc/docker/registry/config.yml
Stop the container during GC for safety if heavily used.
Back up by stopping the container and archiving /opt/registry/data and /opt/registry/auth.
Troubleshooting
- UI can’t connect / shows empty repositories
- Ensure
REGISTRY_URLishttp://registry:5000(internal service name) and the UI stack is deployed on the same Docker environment/network asregistry.
- Ensure
- http: server gave HTTP response to HTTPS client
- The client is trying HTTPS by default. Ensure your
daemon.jsoncontains the correct entry underinsecure-registries(hostname:port or IP:port), then restart Docker.
- The client is trying HTTPS by default. Ensure your
- 401 Unauthorized
- Re‑create
htpasswdand ensure the stack mounts/opt/registry/authto/auth. Rundocker logoutthendocker login. In the UI, use the same credentials when prompted.
- Re‑create
- CORS/preflight errors in browser
- Confirm the CORS env vars are present on the
registryservice and matchhttp://192.168.1.100:5001. Re-deploy the stack after changes.
- Confirm the CORS env vars are present on the
- Cannot push large layers
- Check free space on the Pi and increase client
max-concurrent-uploadsonly if needed.
- Check free space on the Pi and increase client
- Different hostnames
- Clients must use the same hostname:port you configured under
insecure-registries.
- Clients must use the same hostname:port you configured under
FAQ
- Why no HTTPS?
- This setup is for a trusted home LAN. Credentials (if auth is enabled) travel in cleartext over HTTP. For exposure outside your LAN or better security, front it with a reverse proxy (Traefik/Caddy/NGINX) that terminates TLS.
- Can I later add TLS?
- Yes. Put the registry behind a reverse proxy with a valid certificate and remove the
insecure-registriesrequirement on clients.
- Yes. Put the registry behind a reverse proxy with a valid certificate and remove the
- Multi‑arch images?
- Yes. Build with
docker buildx build --platform linux/amd64,linux/arm64 -t 192.168.1.100:5000/myimg:tag --push .
- Yes. Build with